

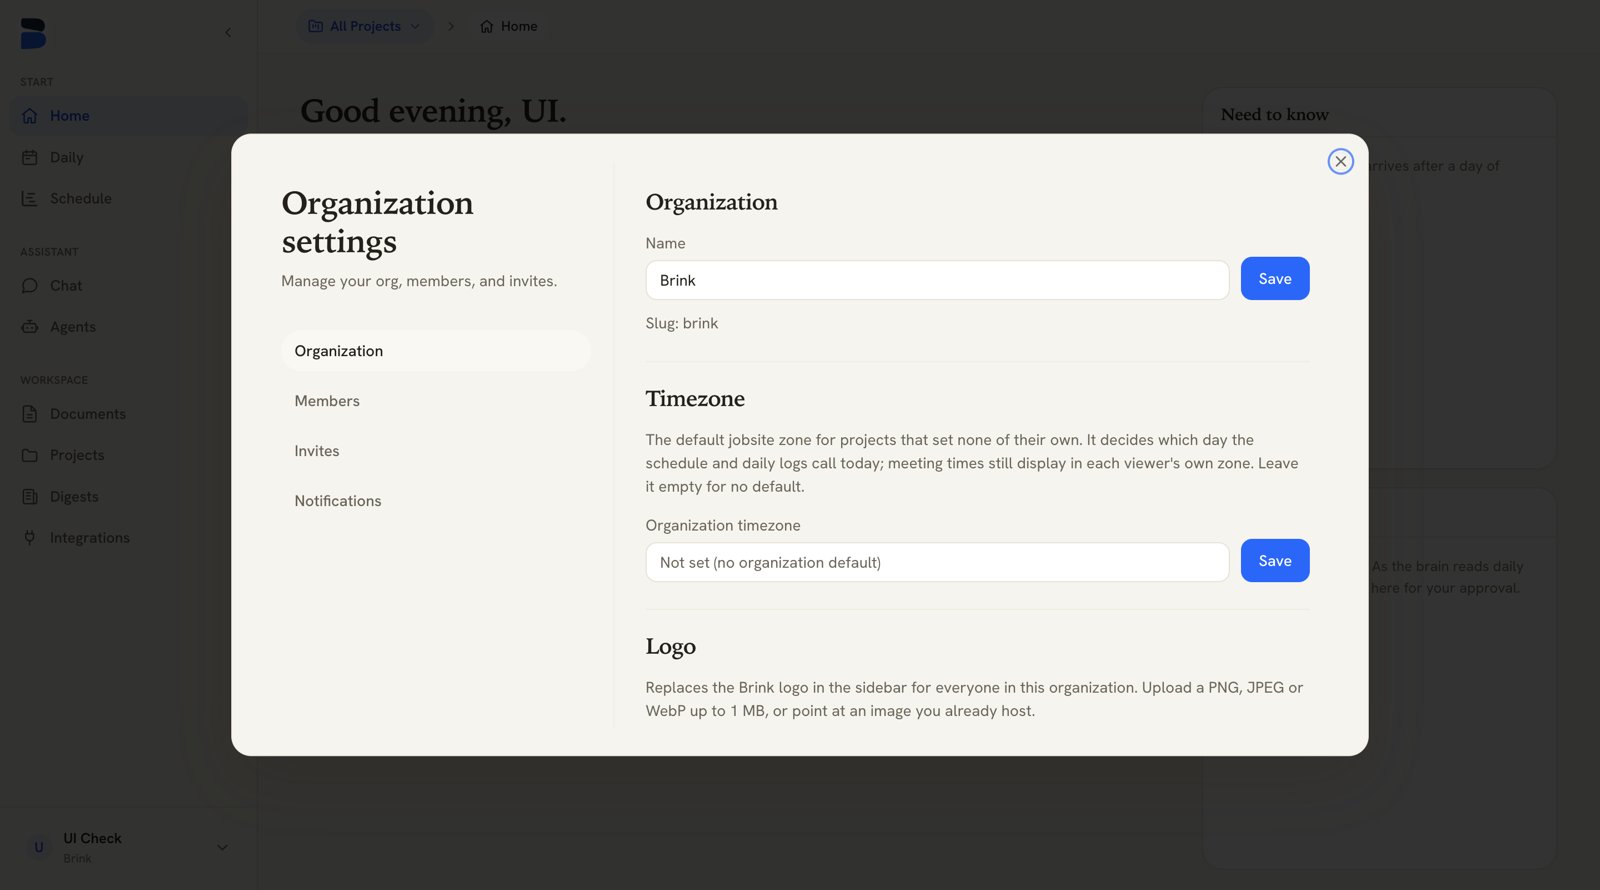
Organization settings — name, timezone, logo, and company domains
Roles
Owners and admins can always access every project. Members get either All Projects or a named list — managed per member.
Your organization can be set up with different words for “Projects” (many
teams use “Jobs”). The label follows across the whole product — ask Brink if
you’d like yours changed.
Organization tab
Name
Rename the organization in the Name field and click Save. Your workspace Slug is shown underneath. If you belong to more than one organization, an Active organization selector at the top of the tab switches between them.Timezone
Set the organization’s default jobsite zone under Organization timezone, then click Save.The default jobsite zone for projects that set none of their own. It decides which day the schedule and daily logs call today; meeting times still display in each viewer’s own zone. Leave it empty for no default.
This is the setting that decides when things happen on a schedule: the
daily digest is generated for your organization’s day, and scheduled
agents fire on your organization’s clock. Individual
jobsites in another region can override it with their own Site timezone —
see Projects.
America/Denver, Europe/London) and pick from the suggestions; leave it empty for no default.
Logo
Your logo replaces the Brink logo in the sidebar for everyone in the organization.- Upload a logo — drop an image on the dropzone (or click to browse). PNG, JPEG, or WebP, up to 1 MB.
- Or use an image URL — paste a link to an image you already host and click Use image URL. The image is loaded from your host every time the app renders, so it has to stay publicly reachable over
https. - Remove clears it and restores the Brink logo.
Company domains
Admins can list the email domains their company signs up from:Anyone signing up with one of these email domains finds this organization and can ask to join, instead of starting a second workspace for the same company.Type the domain (
company.com) under Add a domain and click Add. Each domain shows when it was added and has a Remove button.
Members tab
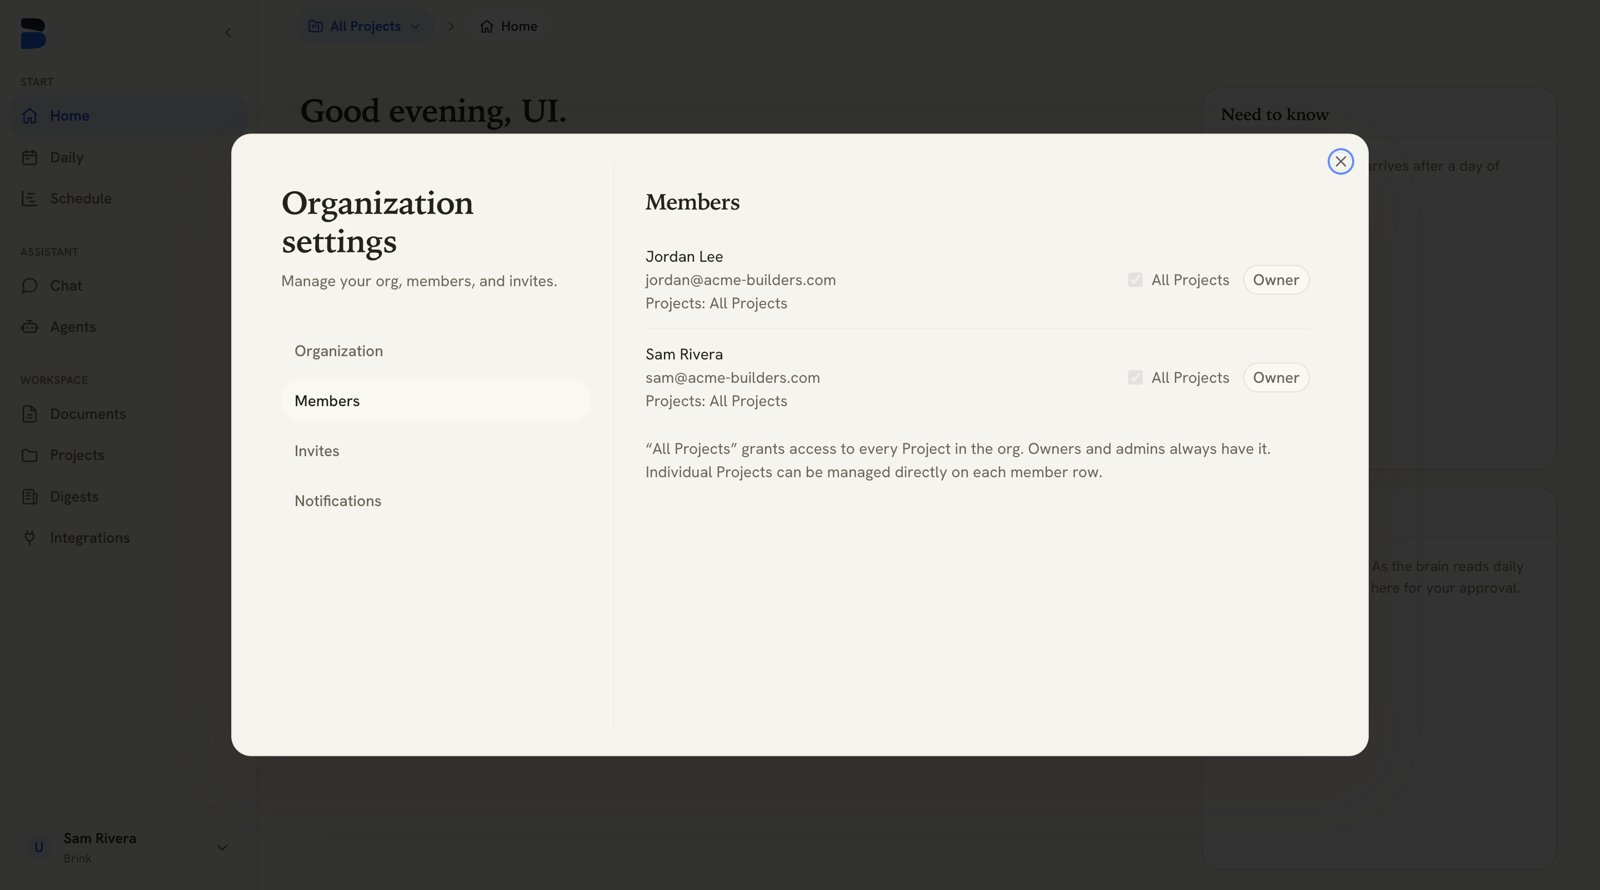
The Members tab — each member's role and project access
Join requests
When someone signs up with one of your company domains and asks to be let in, their request appears at the top of the Members tab with their name, email, an optional message, and when they asked. Approve adds them as a member and activates their account; Deny turns them away.Members
Every member is listed with their name, email, role, and project access.- Role — change between Admin and Member. Owners show a static badge and can’t be reassigned here.
- Project access — check All Projects to grant access to every project including ones created later, or open the projects popover on the member’s row to check individual projects.
Invites tab
Invite a teammate
1
Enter their email and role
Fill in Email and pick Member or Admin.
2
Choose their project access
Check All Projects (including ones created later), or tick individual
projects. Leave everything unchecked to invite them without any project
access yet.
3
Send
Click Invite. Brink emails the invitation and also shows you the invite
link — handy if the email bounces or you’d rather send it yourself.
Pending invites
Each pending invite shows the email, the role, its expiry date, the project scope it grants, and a Copy link button.Notifications tab
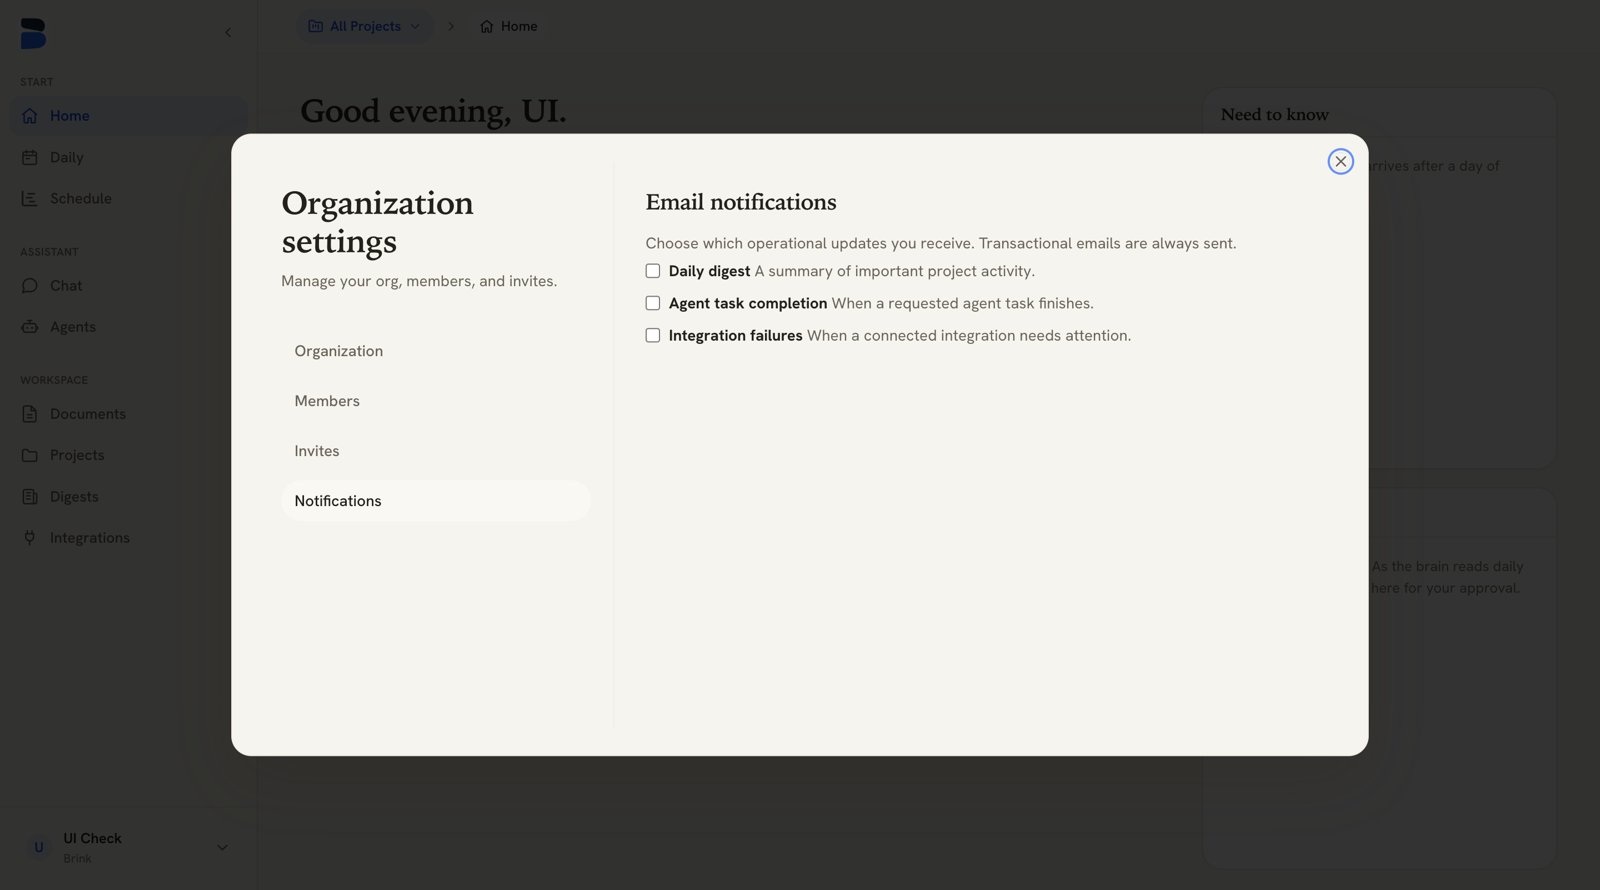
Email notifications — daily digest, agent task completion, and integration failures
These are per-person preferences — each member sets their own. See Digests & notifications.