

1. Create your account
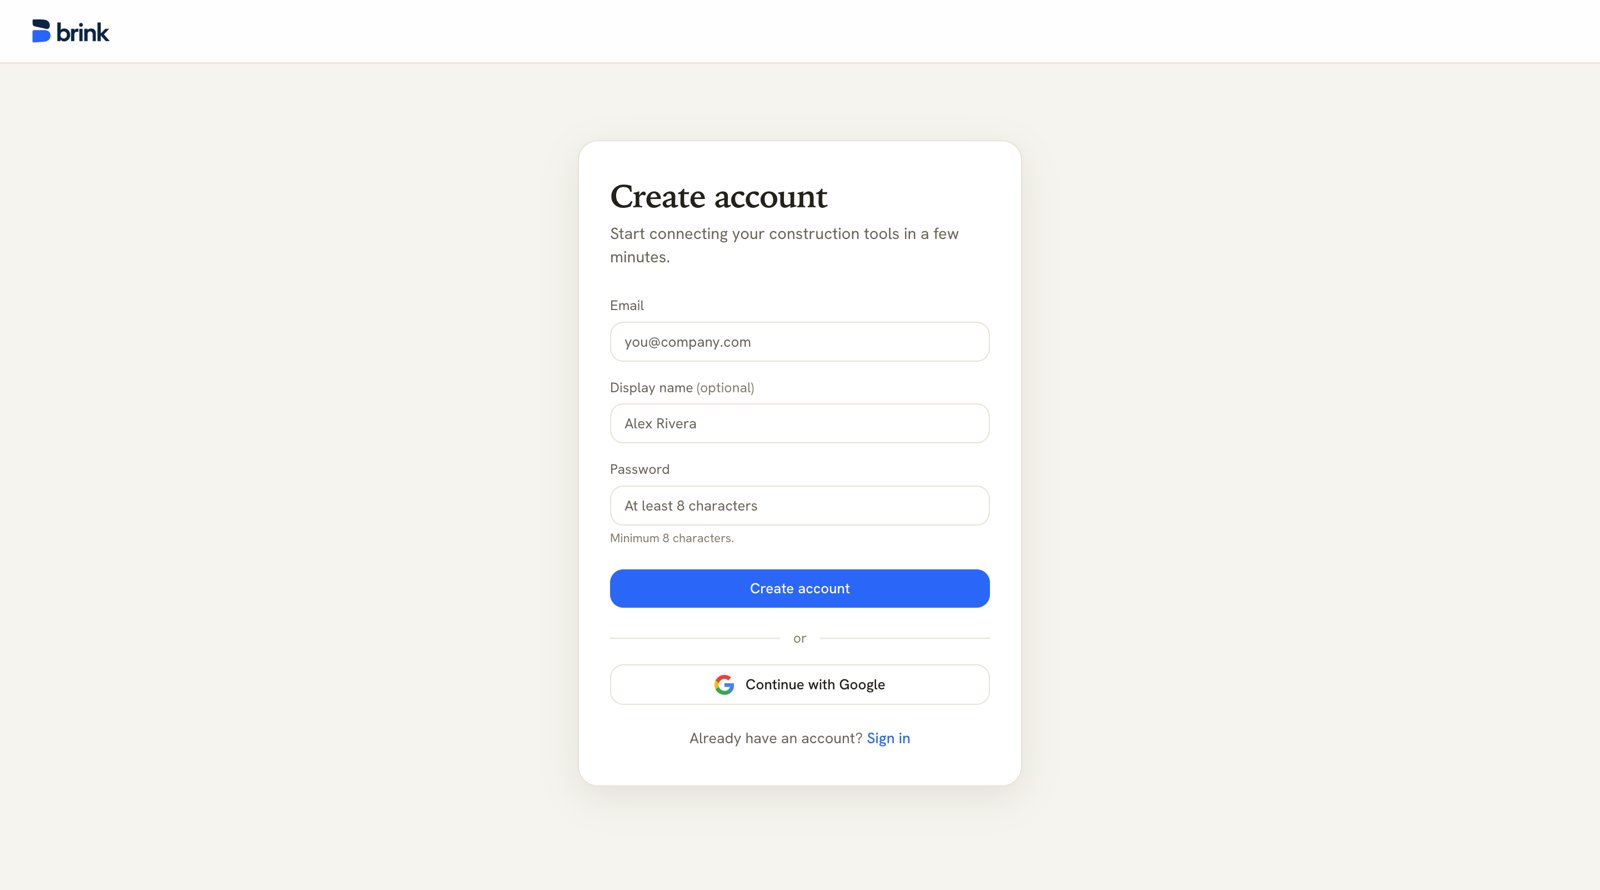
Go to your Brink workspace and click Create one on the sign-in page, or open a teammate’s invitation link. On Create account, enter your Email, an optional Display name, and a password of at least 8 characters — or use Continue with Google. Depending on how your workspace is configured, you may be asked to confirm your address first. The Check your inbox page shows where the link went, with a Resend confirmation email button (available again after a 60-second cooldown) and a reminder to check spam.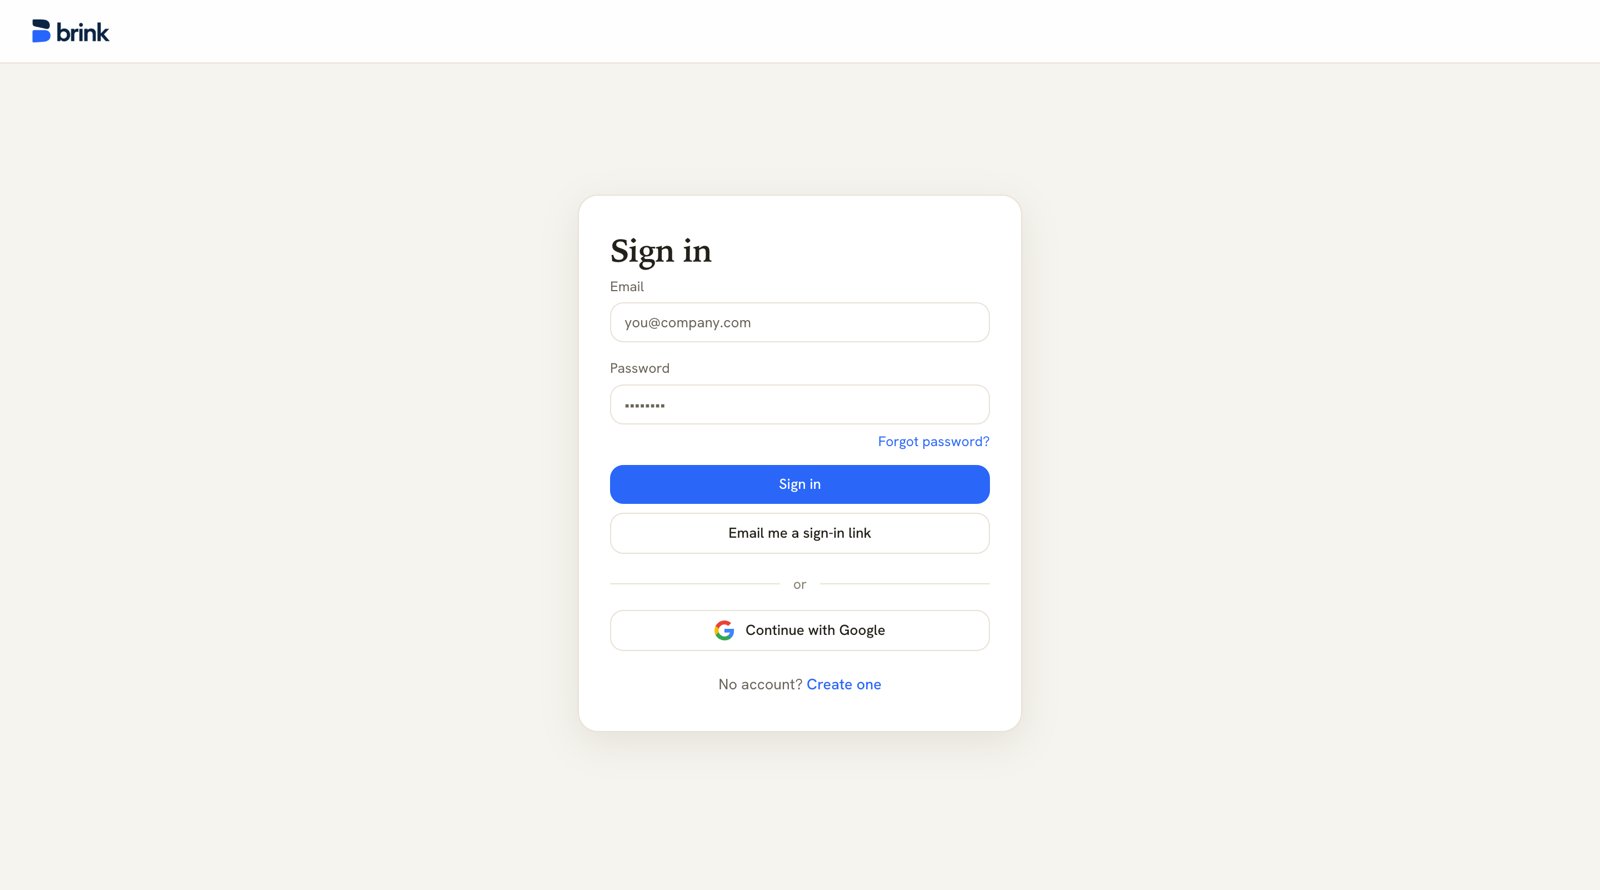
Signing in to Brink
Other ways to sign in
Email me a sign-in link
Email me a sign-in link
Enter your email on the sign-in page and click Email me a sign-in link.
We email a one-click link — open it on the same device and you’re signed in,
no password needed.
Forgot password?
Forgot password?
Click Forgot password?, enter your account email, and click Send reset
link. The emailed link opens Choose a new password, where you set and
confirm a new password (minimum 8 characters) and click Set password.
You’re returned to sign-in with a confirmation. If you also use Google
sign-in, it keeps working.
Continue with Google
Continue with Google
Sign in or sign up with your Google work account in one click. Available
when your workspace has Google sign-in enabled.
2. Join or create an organization
What happens next depends on how you arrived.- Your company is already on Brink
- You were invited
- You have an activation code
- You're starting a new workspace
Brink looks up your email domain. If a workspace already exists for it, you’ll see We found an existing workspace for @yourcompany.com.Click Request to join, optionally add a short message, and send it. Your request lands with an owner or admin of that organization; the Waiting on approval screen shows when you asked and offers Check again, Cancel request, and Create a new organization instead.
Approval is what activates your account — as soon as an admin lets you in, Brink takes you straight into the workspace.
3. Set up your organization
The first owner or admin walks through a five-step setup wizard. Every step has Skip for now, and you can finish anything later.1
Create your organization
Enter an Organization name and a Workspace URL slug. Brink checks availability as you type.
2
Add your projects
A project is a jobsite. Add a name and optional description for each one you want Brink to cover; + Add another adds more rows.
3
Give the project an inbox
Each project can get its own AI employee with an email address. Forward anything to it and it becomes knowledge the whole team can ask about. Choose its routines here:
4
Connect your tools
Link Procore, Slack, Teams, Google Drive, OneDrive/SharePoint, Box, Dropbox, and the rest — see the integrations overview. Each card shows Connected, Not connected, or Coming soon.Remember to bind each connection’s resources to your projects afterward.
5
Invite your teammates
Add each teammate’s Email, pick a Role — Member or Admin — and choose their project access: All current and future projects, or a checked list. Click Finish setup to send. If an invitation email can’t be delivered, Brink shows the invite link so you can send it yourself.
Creating an account
If you join an organization that someone else is still setting up, you’ll see
Your admin is setting things up — click Continue into the app and
start using Brink while they finish.
4. Your personal setup
Everyone — including people joining by invitation — gets a short two-step personal setup:1
Connect your tools
Link the accounts you work out of (Gmail, Outlook, your calendar) so your assistant can answer from your own email, calendar, and files.
This data is private to you. It powers your own assistant and is never visible to your teammates.
2
Your projects
Review the projects that came with your invitation, then click Start using Brink. Everything you ask is answered in the context of the project you pick.
5. Set your timezone
Before the first digest goes out, set your organization’s timezone under Organization settings → Organization → Timezone. It decides when scheduled work runs and what “today” means in digests and daily logs. Projects in a different region can override it on the project’s own settings. See Organization & members.6. Start asking questions
Head to Chat and ask anything about your projects:- “Which RFIs are holding things up?”
- “Where are submittals slipping?”
- “Change-event exposure by project”