

Your organization can use a different word for “Projects” (many teams use
“Jobs”) — the pages and menus follow whatever label your workspace is set up
with.
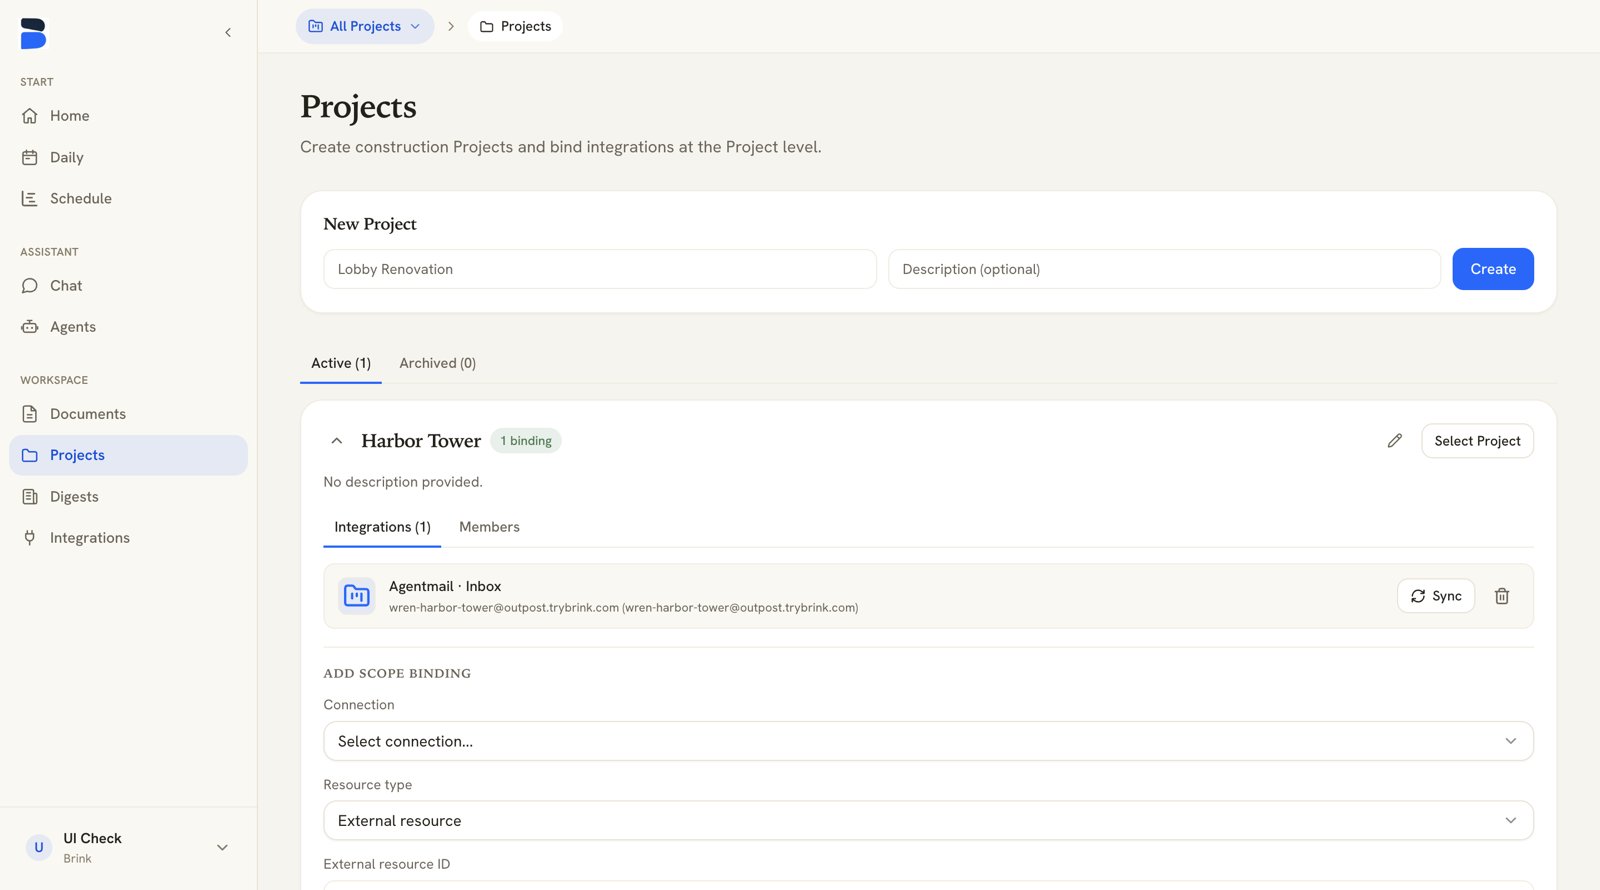
A project expanded — Integrations tab with bindings and the Add scope binding form
Create a project
On the Projects page, fill in a Name and an optional Description and click Create. The list is split into Active and Archived tabs, with a count on each.The project card
Each project collapses to a header showing its name, how many integration bindings it has, an Active badge when it’s your current project, and an Archived badge when it’s been retired. Admins get a rename button on the header.- Select project switches your working context to that project. (Archived projects have to be unarchived first.)
- Edit details in the card footer opens the name, description, and site timezone fields.
- Archive project keeps the project readable but marks it inactive; Unarchive project brings it back. Projects are never deleted.
Site timezone
Under Edit details, the Site timezone field sets the jobsite’s own zone:The jobsite’s own zone. It decides which day the schedule and daily logs call today; times still display in your browser’s zone.Leave it empty and the project inherits your organization’s default timezone. When set, the card shows Site timezone: … under the description.
Members
The Members tab on each card lists everyone on the project.- Add an organization member with a project role of Lead or Member, then click Add member.
- Admins can change a member’s project role or Remove them.
- Organization owners and admins always have access to every project, as do members granted All Projects.
Integrations
The Integrations tab is where connected tools are linked to this project — a Procore project, Slack channels, Box or Drive folders, mail labels.1
Pick the connection
Choose the Connection and the Resource type you want to bind.
2
Choose the resource
Pick the External resource from the picker, or choose Custom… and
paste the external resource ID yourself. Give it a Display name.
3
Bind and sync
Click Bind integration. Brink then offers Sync now so you don’t have
to wait for the next scheduled sync.
File connectors (Google Drive, OneDrive/SharePoint, Box, Dropbox) can be bound
here like any other resource, or folder by folder from the Bind folders
sheet that opens right after you connect (and from the account card on the
Integrations page). Either path creates the same binding — see
integrations.